In an era where awareness of sustainable and eco-friendly farming is growing, the use of natural fertilizers is becoming increasingly popular among farmers and plant enthusiasts. Natural fertilizers are not only safer for the environment, but they can also enhance soil quality and plant health in the long term. This shift reflects a broader movement toward greener agricultural practices.
What makes natural fertilizers even more appealing is that many types can be easily made at home using readily available ingredients. This article will explore five types of DIY natural fertilizers, providing step-by-step instructions and detailing their benefits. Additionally, it will explain how these fertilizers can be applied to various plants, helping you achieve healthier and more sustainable growth in your garden.
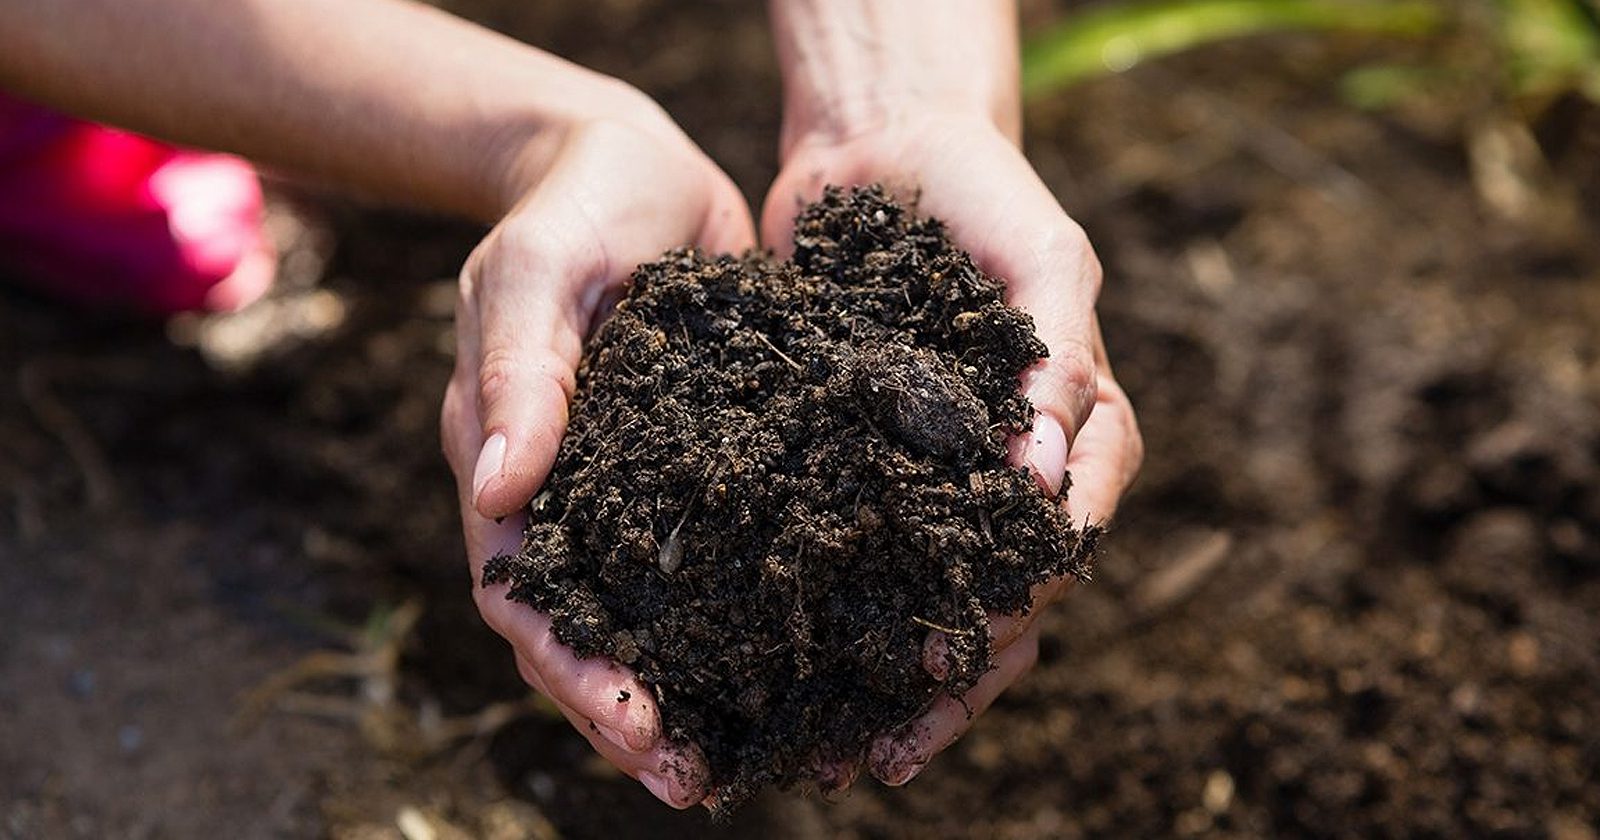
1. Compost: Turning Organic Waste Into Plant Nutrients
Compost is widely regarded as one of the most popular and easiest natural fertilizers to produce. It can be made from everyday organic materials like kitchen scraps, yard waste, and plant trimmings.
The composting process uses natural decomposition to break down organic matter into nutrient-rich humus. This enhances soil health by improving structure, moisture retention, and providing essential nutrients, benefiting both plants and the overall ecosystem.
Materials Needed:
– Organic kitchen waste (vegetable scraps, fruit peels, coffee grounds, egg shells)
– Dried foliage, grass trimmings, or straw
– Animal manure (optional, to speed up the composting process)
– Water
Steps to Make:
– Choose a shady, well-drained location to create your compost pile.
– Start with a layer of brown material (dried leaves, straw) about 4 inches (10 cm) thick.
– Add a layer of green material (kitchen scraps, grass clippings) about 2 inches (5 cm) thick.
– If using animal manure, add a thin layer on top of the green material.
– Repeat these layers until the pile is about 3 feet (1 meter) high.
– Mist the pile with water until it is damp but not soaking wet.
– Stir or turn the pile every 1-2 weeks to ensure good aeration.
– The compost will be ready to use after 2-6 months, depending on the conditions and materials used.
Benefits and Applications:
Compost is packed with essential nutrients like nitrogen, phosphorus, and potassium, making it an excellent choice for improving soil health. It also contains beneficial microorganisms that enhance soil structure and fertility, helping plants absorb nutrients more efficiently while promoting sustainable growth over time.
Compost is versatile and suitable for many plant types, including ornamental plants, vegetables, and fruits. To use compost effectively, mix it into the soil before planting, or spread it as mulch around growing plants to retain moisture and boost soil nutrition throughout the growing season.
2. Liquid Fertilizer from Kitchen Waste: Utilizing Food Scraps
Liquid fertilizer from kitchen waste is an efficient method to repurpose food scraps that would otherwise be discarded. It reduces waste while turning leftovers into a valuable resource for sustainable gardening practices.
This type of fertilizer contains essential nutrients that promote healthy plant growth. Its liquid form allows for quicker absorption by plants, ensuring they receive the necessary nutrients more efficiently compared to traditional fertilizers.
Materials Needed:
– Leftover vegetables and fruits (avoid meat, milk, or oil)
– Water
– Large container with lid (bucket or plastic barrel)
– Gauze or sieve
Making Steps:
– Cut leftover vegetables and fruits into small pieces to speed up the fermentation process.
– Put the organic material pieces into a large container.
– Add water until all the ingredients are submerged, but leave about 10 cm of space at the top of the container.
– Close the container tightly, but not too tightly to allow gas to escape.
– Store the container in a shady place and let it sit for 2-4 weeks.
– Stir the mixture every 2-3 days to prevent mold from forming.
– After 2-4 weeks, strain the liquid using cheesecloth or a sieve.
Benefits and Applications:
This liquid fertilizer contains high levels of nitrogen and essential minerals that support optimal plant growth. Its balanced nutrient composition makes it especially beneficial for vegetable and flowering plants, promoting healthy foliage and vibrant blooms, while enhancing the overall vigor of the plants.
To apply, simply dilute the liquid fertilizer with water at a 1:10 ratio. Pour the mixture evenly around the soil near the plant base. For best results, repeat this process every 1-2 weeks, ensuring the plants receive consistent nourishment throughout their growth cycle.
3. Green Fertilizer: Utilizing Legume Plants
Green fertilizer is a natural method of enriching soil by cultivating specific plants, particularly from the legume family. These plants are then buried, enhancing the soil as a sustainable fertilizer.
This technique significantly improves soil fertility and structure, promoting better plant growth. By integrating green fertilizer into farming practices, farmers can boost crop yields while maintaining environmental health and sustainability.
Suitable Plants for Green Fertilizer:
– Legumes (peanuts, mung beans, soybeans)
– Clover
– Alfalfa
– Crotalaria (orok-orok)
Implementation Steps:
– Select the area to be fertilized and prepare the soil as usual.
– Plant green manure seeds according to the type selected.
– Allow the plants to grow until the flowering phase or before producing seeds.
– Cut the plants and leave them on the surface of the soil for a few days.
– Bury the remaining plants into the soil by hoeing or using agricultural tools.
– Let the soil “rest” for 2-3 weeks before planting the main crop.
Benefits and Applications:
Green fertilizer is highly effective in boosting soil nitrogen levels, particularly when legume plants are used. This technique also contributes to enhancing soil structure, minimizing erosion, and promoting the activity of beneficial soil microorganisms, leading to improved soil health and fertility over time.
Additionally, green fertilizer is ideal for application before planting nutrient-demanding crops like corn, tomatoes, or leafy vegetables. By enriching the soil with essential nutrients, it ensures optimal plant growth, making it a crucial part of sustainable agricultural practices, especially for high-yield crops.
4. Banana Peel Fertilizer: Utilizing Fruit Waste
Banana peels are frequently discarded, yet they are a valuable resource packed with nutrients that can greatly benefit plants. Utilizing banana peels as fertilizer can enhance soil health and promote growth.
Rich in potassium, phosphorus, and essential minerals, banana peel fertilizer offers a natural way to nourish your plants. By composting or using them directly, you can improve plant vitality effectively.
Ingredients Needed:
– Banana peel
– Water
– Large container
– Blender or pestle
– Sieve
Making Steps:
– Gather banana peels and chop them into small pieces.
– Soak the banana peel pieces in water for 2-3 days.
– After soaking, blend or mash the banana peels until they become a pulp.
– Add water to the banana peel pulp with a ratio of 1:2 (1 part banana peel pulp: 2 parts water).
– Stir the mixture until smooth and let it sit for 24 hours.
– Filter the mixture to obtain the liquid.
Benefits and Applications:
Banana peel fertilizer is very rich in potassium, which is important for the formation of fruits and flowers. This fertilizer also contains phosphorus which helps root development.
To use, dilute the liquid fertilizer with water in a ratio of 1:5 and apply to the soil around the plant every 2-3 weeks. This fertilizer is perfect for flowering plants and fruit plants.
5. Eggshell Fertilizer: Natural Source of Calcium
Eggshells are an excellent natural source of calcium for plants, enhancing their growth and development. When crushed and added to the soil, they release calcium slowly, promoting healthier root systems.
Eggshell fertilizer not only provides essential calcium, but also helps balance the pH of the soil. This balance is crucial for nutrient absorption, ensuring plants receive the minerals they need to thrive.
Ingredients Needed:
– Eggshells
– Apple cider vinegar (optional)
– Mash or blender
– Fine sieve
Making Steps:
– Collect eggshells and clean them from the remains of egg white.
– Dry the eggshells in the sun or in the oven at a low temperature.
– Mash or blend the dried eggshells until they become a fine powder.
– Sieve the eggshell powder to get a very fine texture.
– (Optional) To make liquid fertilizer, soak the eggshell powder in apple cider vinegar for a few days until it dissolves.
Benefits and Applications:
Eggshell fertilizer is very rich in calcium, which is essential for plant cell growth and plant structural strength. Calcium enhances the ability of plants to absorb other nutrients more effectively. To use powdered fertilizer, sprinkle it evenly around the plant and mix it gently into the soil.
For liquid fertilizer, dilute it with water at a ratio of 1:10 and pour it into the soil every 2-3 weeks. This fertilizer is very useful for plants that require a lot of calcium such as tomatoes, chilies, and leafy vegetables.
Closing
Creating natural fertilizers at home is an economical and eco-friendly way to care for plants while promoting a sustainable lifestyle. The five types discussed—compost, liquid from kitchen waste, green manure, banana peels, and eggshells—provide diverse benefits for various plants and soil conditions.
Utilizing waste materials helps reduce household waste while providing optimal nutrition for plants. Each natural fertilizer has unique benefits, allowing you to combine them for specific needs. However, overusing them can disrupt soil balance, so start with small amounts and monitor your plants’ responses before increasing application.